


The Ultimate Ready Guide to Stone Countertops: From Templating to Maintenance
The Stone Countertop kitchen is no longer a service room hidden behind a door; it has become the emotional heart of the modern home. Morning coffee, after-school homework, midnight noodles and weekend baking all happen here, and the countertop is the stage on which these rituals are performed. Stone—whether marble, granite, quartz or sintered slab—offers a rare combination of beauty and brute strength, but its performance is only as good as the weakest link in the chain of design decisions. Choose the wrong material and a single splash of soy sauce can become a permanent tattoo; mis-measure by two millimetres and a £3,000 island becomes an expensive chopping block. This guide compresses five years of site experience and the latest 2025 manufacturing standards into seven concise paragraphs that will take you from bare stud walls to a show-home kitchen that still looks immaculate after 5,000 family dinners.


Templating is the moment when digital precision meets physical reality. Begin with a “rough” laser measure before plasterboard goes up, recording the exact centre-line of soil pipes, gas mains and extractor ducts; photograph everything and drop the dimensions into a shared CAD folder. Return for the “finish” measure once tiles and plaster are dead-level—British Standard BS 8200:2023 allows ±2 mm over 3 m, but stone fabricators prefer ±1 mm. Use a 360° laser and a digital angle cube to capture out-of-square corners; if the deviation exceeds 1.5°, spec a 5 mm shadow-gap instead of forcing a scribed joint that will open seasonally. For ergonomics, set the finished work-top height at ½ user’s height + 50 mm; a 5 ft 10 in cook lands at 900 mm, but drop the hob zone 80 mm to keep wrists neutral while stir-frying. Depth is equally critical: carcase 550 mm + door 20 mm + overhang 20 mm = 590 mm, the sweet spot that swallows a 500 mm Belfast sink without compromising drawer space.
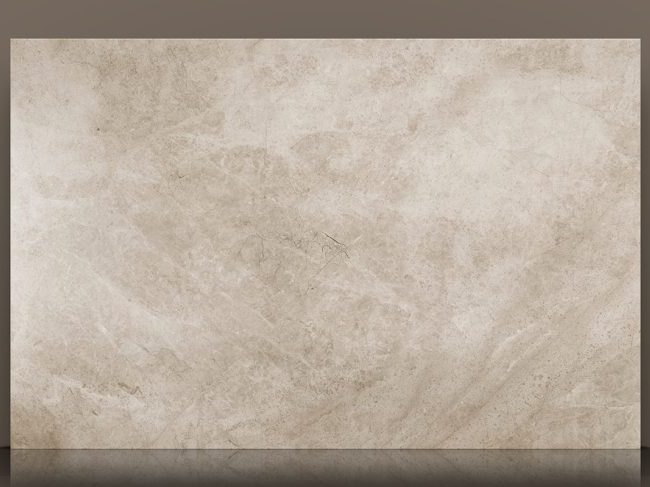
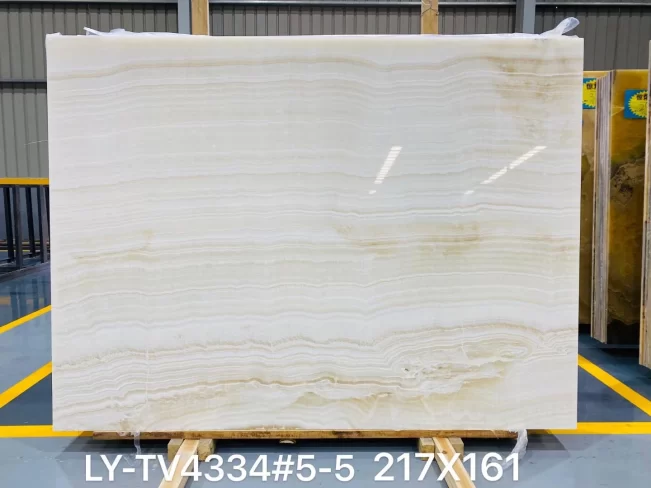
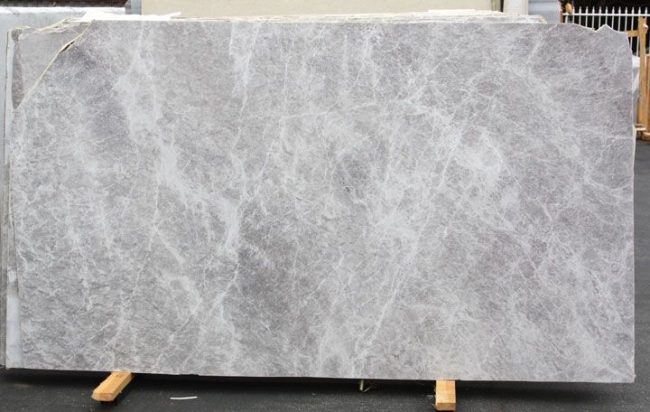
Stone Countertop Material selection is the point where aesthetics, chemistry and family lifestyle collide. Marble (metamorphic calcite) offers Michelangelo-level glamour but has a Mohs hardness of only 3-4 and a porosity of 0.5-2 %; seal it twice a year and still wipe red wine within 30 seconds. Granite (igneous quartz/feldspar) scores 6-7 on Mohs and porosity <0.3 %, making it virtually bomb-proof for high-heat wok stations. Engineered quartz (93 % quartz aggregate + 7 % resin) provides the widest colour palette and a 25-year anti-stain warranty, but keep trivets handy—prolonged 150 °C casseroles can discolour the resin. Sintered slab (1,200 °C kiln) is the new prodigy: 3 m × 1.6 m panels only 12 mm thick, zero water absorption and UV-stable, yet it demands diamond blades and suction cups for on-site cuts. Budget rule of thumb: allocate 60 % of kitchen spend to tops and hardware, 40 % to carcases; mix materials—granite for the cook zone, quartz for the island—to hit both performance and price targets.

Factory prefabrication is the secret to the dust-free, same-day installs that have become the 2025 gold standard. Once the CNC file is approved, edge profiles (bullnose, shark-nose, 6 mm chamfer) are milled to 0.2 mm tolerance, cut-outs for under-mount sinks and pop-up sockets are polished to 400-grit, and steel rod reinforcement is epoxied into narrow overhangs. On site, cabinets are laser-levelled to ±1 mm, then a 5 mm SBR slurry bed is trowelled onto the top rails to create full-contact support without visible fixings. Panels are lowered in place using battery-powered suction frames, seam edges are aligned with spring clamps, and 0.3 mm joints are vacuum-injected with UV-curing polyester resin that matches the stone’s refractive index. The entire process—from van arrival to hand-over—takes under three hours for an average L-shaped kitchen, eliminating the traditional two-day dusty grind and allowing other trades to work the same afternoon.
Post-install protection and first-use protocol determine whether the countertop ages gracefully or develops mysterious ghost stains within weeks. Immediately after fitters leave, cover the surface with breathable fleece and 3 mm hardboard; tape edges but never use plastic, which traps moisture and can etch calcareous stones. For the first 48 hours, keep ambient temperature above 10 °C and relative humidity below 65 % to allow the seam resin to achieve full cross-link density. When you finally unwrap, perform the “15-minute water test”: place a palm-sized puddle in three locations; if dark rings appear, the factory seal has been compromised during transit and a penetrating impregnator must be applied before the first meal is cooked. From day one, adopt the “30-second rule”—wipe acidic or pigmented spills within half a minute—and use chopping boards and trivets even for quartz rated at 300 °C; thermal shock accumulates and can cause micro-fractures that only show up months later.

Routine and periodic Stone Countertop maintenance are inexpensive insurance against costly resurfacing. Daily cleaning requires only pH-neutral dish soap, warm water and a micro-fibre cloth; avoid vinegar, lemon juice, bleach or antibacterial sprays containing sodium hypochlorite, all of which break down the siloxane sealant. Once a quarter, deep-clean with a specialist stone cleaner that contains a mild chelating agent to lift trace oil and limescale; rinse twice and dry with a fresh towel to prevent water marks. Granite and quartz benefit from an annual spray-on seal booster that takes five minutes; marble in heavy-cook households should be re-sealed every six months. For accidental scratches on dark granite, a 400-grit diamond pad on a random-orbit sander followed by 800- and 1,500-grit will restore the factory polish; on leathered finishes, use a 220-grit pad followed by colour-enhancing stone oil. If a seam opens wider than 0.5 mm, inject low-viscosity epoxy, clamp for 24 hours and polish flush; DIY super-glue fixes invariably yellow and fail within a year.
Look Stone Countertop ahead five to ten years and the countertop you install today will still be the visual anchor of your kitchen, but only if you treat stone as a living material that expands, contracts and breathes. Choose Stone Countertop a timeless edge profile—6 mm chamfer or 3 mm pencil round—rather than a fad like the extreme shark-nose that will date the room. Specify recycled-water diamond polishing to reduce embodied carbon by 18 %, and ask fabricators for off-cut chopping boards or window sills to minimise waste. Finally, keep the supplier’s off-cut of your slab in the loft; colour batches change, and a future repair will be invisible if the original block is available. Follow the templating, installation and maintenance disciplines outlined above and your stone countertop will not only survive 10,000 meals, it will improve with age, developing a rich patina that tells the story of every birthday cake, every spilled glass of Barolo and every Sunday-morning pancake.
