


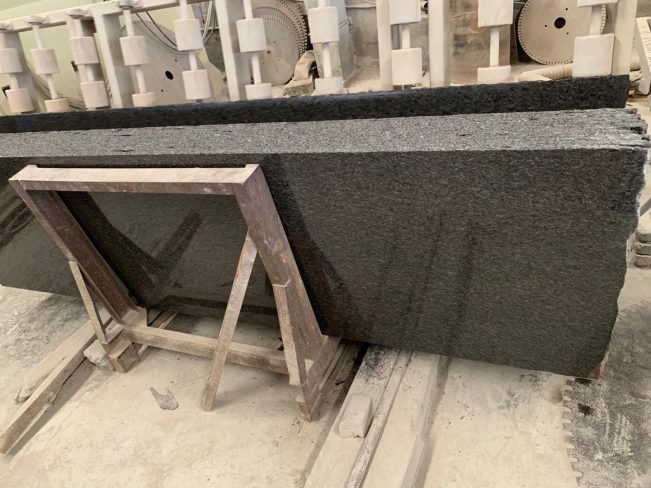
Rock slabs, a new material derived from the ceramic industry, have expanded the application scenarios and machinability compared to traditional tiles. The seamless splicing of these slabs is crucial in achieving a flawless and aesthetically pleasing finish. Here’s an in-depth guide to the six essential rock slab steps for 45° seamless splicing of rock slabs.
1. 45° Cutting
In the application of rock slabs, there are numerous instances where right-angle products are necessary, such as bathtubs, washbasins, center islands, and cabinet corners. These applications require precise 45° cutting of the slabs. The precision of the 45° cut is critical; it must be smooth, accurate, and clean to ensure the quality of the final product. A precise cut leads to a smooth finish and impeccable splicing, essential for achieving seamless splicing. The smoothness of the cut ensures that when the slabs of rock are joined, they fit together perfectly, without any visible gaps or misalignments. Knowing how to cut rock slabs properly is vital to achieving this precision.

2. Processing Before and After Splicing
Seamless splicing involves creating sharp angles with the glaze during 45° chamfering, ensuring that there are zero margins for corner collisions. Due to the inevitable defects that arise from machine cutting, a secondary manual grinding inspection is essential. This post-edge grinding inspection ensures the removal of any defects, guaranteeing the quality of the finished product. The manual inspection and touch-up ensure that the edges are perfectly smooth and ready for seamless joining.

3. Pasting
Before pasting, a few preparatory steps are necessary:
- Clean and Dry the Rock Slab: Thoroughly clean the rock slab and ensure it is completely dry. Any moisture can affect the adhesive’s effectiveness.
- Check Size and Quality: Verify the size and quality against the drawings to ensure the slabs fit perfectly.
- Positioning Clamps: Create a set of clamps to position the rock slab splicing accurately. This ensures the straightness and overall aesthetic of the final product.
- Inject Glue: Once the slabs are positioned, inject professional rock slab glue into the interface. The choice of glue is crucial, as it needs to bond effectively without compromising the appearance.
- Cloth Tape Application: Use cloth tape to pull and stick the interface, enhancing the seamless splicing effect. The tape helps hold the slabs in place while the glue sets.
- Preliminary Glue Processing: Leave the glued slabs for 3-5 minutes. If the glue is not completely dry, preliminarily process any overflow to prevent hard-to-remove residue.

4. Surface Treatment
After allowing the glue to dry for 20–30 minutes, the next step is to grind off the excess glue using a sponge, angle grinder, or sandpaper. It’s important to grind at a 45-degree angle. When the grinding disc makes a crisp sound, it indicates that the glue has been ground flat.
Special Attention:
Once you hear a crisp sound, stop grinding immediately to avoid damaging the glaze, which would ruin the appearance. Use a blade to scrape off any remaining glue. Finally, use a grinding disc with a grit of no less than 1000# to polish and smooth the surface.
5. Reinforcement and Waterproofing
After the primary processes are completed, reinforcement is necessary. This involves using special edge strips, corner codes, or other materials to reinforce the back of the adhesive interface. This step increases the bonding strength and stability, preventing issues like falling off or cracking.

Y-Shaped Edge Strip Reinforcement:
In places like bathroom basins and washbasins that come into contact with water, Y-shaped edge strip reinforcement is crucial. Here’s how you do it:
- Waterproof Strips: Use specific waterproof strips to glue all the backs of the joints.
- Structural Glue Application: Apply structural glue to all the joints for secondary reinforcement. This adds an extra layer of protection against water infiltration.

6. Anti-Fouling Treatment
The final step involves applying an anti-fouling agent to the joint positions. This treatment makes the joints more resistant to dirt and stains, maintaining their appearance over time. The anti-fouling agent ensures that the joints remain clean and visually appealing, enhancing the overall durability and aesthetics of the spliced rock slabs.

Applications Beyond Interiors
While these steps are crucial for interior applications, rock slabs for landscaping are also gaining popularity. Large slabs of rock can be used to create stunning garden features, walkways, and outdoor kitchen countertops. The same precision and attention to detail are required when working with landscaping rock slabs. Learning how to cut rocks into slabs accurately is just as important for outdoor projects as it is for indoor ones.
Conclusion
Rock slabs’ 45-degree seamless splicing is a painstaking technique needing accuracy and close attention to detail. Following these six steps—cutting, processing before and after splicing, pasting, surface treatment, reinforcing and waterproofing, and anti-fouling treatment—you may get a perfect finish that not only looks great but also tests of time. Every stage is vital to guarantee that the end result satisfies practical criteria as well as aesthetic ones and is of maximum quality. Learning these procedures will guarantee the greatest outcomes whether your landscaping uses big rock slabs or slab rocks for inside design. And for those presenting their creations, a rock slab display stand can be a great method to accentuate the beauty and workmanship of your products.