


Complete Guide to Installing a Suspended Stone TV Background Wall: From Design to Perfect Implementation
A suspended stone TV background wall not only enhances the sophistication of the living room but also creates a unique atmosphere through clever lighting design. This design creates a floating effect by protruding 5-10 centimeters from the wall surface in the center, further enhanced by LED strip lighting, making the entire space appear more modern and stylish.
There are two main forms of this type of background wall: one is where the stone is about 10 centimeters above the wall, backlit to create a suspended style; the other is where the entire background wall structure is suspended, serving as both a background wall and a partition. Regardless of the form, proper installation is crucial.

I. Key Preparations Before Installation
The first step to successfully installing a suspended stone TV background wall is thorough preparation. The core of this stage lies in accurate planning and measurement to ensure smooth subsequent procedures.
Wall inspection is fundamental. It’s necessary to confirm whether the wall is solid brick or concrete, as this is crucial for choosing the appropriate fixing method. If the wall is made of perforated or hollow bricks, reinforcement measures are necessary. These could include using through-wall screws to reinforce the wall from the other side, or replacing part of the original wall with solid concrete.
Accurate measurement and planning are crucial steps. Measure and draw the required installation dimensions and hole locations on the feature wall, paying particular attention to the locations of electrical outlets. This allows for easier wiring modifications and substrate preparation during construction.
The design and dimensions of the TV wall must be determined in advance. If a recessed TV is planned, the TV size must be finalized beforehand so the installer can leave an appropriate space on-site.
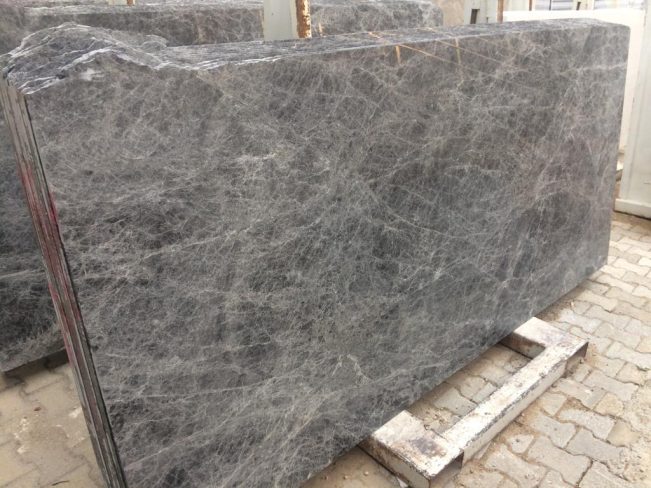
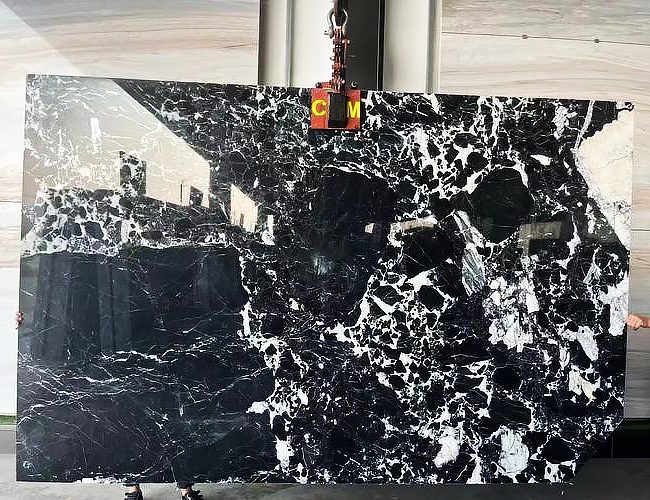
Material selection directly impacts the final result. A suspended TV wall can be decorated with ceramic tiles, marble, slabs, or wood veneer. Large stone slabs are a common choice due to their good texture and durability.
For the substrate, OSB (Oriented Strand Board) is recommended because it offers better nail-holding power and adhesion compared to other wood-based panels, resulting in a superior finish.
II. Detailed Explanation of Three Mainstream Installation Methods
- Wood-Based Adhesive Method
This is one of the most common installation methods, suitable for spaces with a net height of approximately 2.8 meters between floors. Even in double-height spaces, a height of around 5.8 meters is generally sufficient.
The construction process for this method is as follows: First, a base layer of wood and plywood is used. Then, structural adhesive is used to directly apply the surface decoration (tiles, stone, or wood veneer). At corners, an edge-folding technique is used for finishing. Structural adhesive has high strength, can withstand large loads, and is resistant to aging, fatigue, and corrosion. Its stable performance makes it suitable for bonding structural components that bear strong forces, a “secret weapon” to ensure the surface decoration does not detach.
The advantages of this method are good stability and relatively short installation time, making it the most cost-effective installation method. The disadvantage is that if the base layer is not properly prepared, deformation problems may occur later.

- Expansion Screw Direct Fixing Method
This is another common installation method. The core of this method is to directly fix the stone to the wall using expansion screws.
The specific steps are as follows: First, measure and mark the required installation dimensions and hole locations on the stone wall. Then, use a handheld cutting machine to cut a 30cm square opening at the mounting location.
Next, use a glass drill (12mm diameter glass drill bit) to slowly drill the hole at the pre-marked location, cooling the drill bit with water as you drill, until you penetrate the stone. Then, use an extended impact drill to drill into the wall, creating a hole approximately 10cm deep.
Finally, use an 8mm diameter extended expansion bolt (its length must be longer than the stone surface to the wall). Insert it through the stone into the wall and secure it firmly with a wrench. Then, screw a nut onto the bolt shank until it is level with the stone surface, and place a washer on top.
There are two key points to this method: First, the wall must be solid brick or original concrete to allow the expansion bolt to provide leverage; second, the stone itself cannot be too thin or too brittle.
This method is not suitable for overly complex or tall designs, as its stability is relatively low compared to other methods, but it has the lowest budget and installation cost. 3. Dry-Hanging Method
Dry-hanging is a more professional installation method suitable for high interior walls, exterior walls, and other areas requiring dry-hanging technology. This method involves welding a steel frame to the wall first, then using brackets to hang the stone. Specifically, the structure and distribution of the steel frame are determined based on the overall shape of the wall and the horizontal paneling. The connection points between the steel frame and the wall must be solid brick or existing concrete. For large slabs, generally four brackets are used; for small slabs, two brackets are used. The bracket points on the stone need to be ground into concave surfaces to increase the fixing area. The biggest advantage of dry-hanging is its superior stability. However, its disadvantages include the highest budget and installation costs, and the longest installation time. Additionally, dry-hanging cannot create embedded designs, and the fixing brackets take up considerable space, thus limiting its effectiveness.

III. Construction Process and Key Details
The installation of the keel is fundamental to ensuring safety. For heavy marble slabs, using a steel keel reduces the impact of the stone on the wall and improves overall seismic resistance.
According to the plan, drill holes in the wall to embed fasteners, weld the wall fasteners to the keel, and then weld the keel to the support frame. Ensure the keel is securely installed and balanced with the wall surface.

Precision control during stone installation is crucial.
During stone installation, establish overall horizontal and vertical control lines. Stone slabs must be installed on the support frame. First, drill holes to fix the lower part of the marble slab, insert the support frame hangers, fine-tune and tighten, then fix the upper part and sides of the stone. Apply anchoring agent to the joints to reinforce the slabs.
Groogging affects aesthetics. After the marble slabs are installed, the gaps between the slabs are sealed with adhesive. First, clean the dust and impurities from the gaps. Apply masking tape to the edges of the slabs to prevent adhesive from contaminating the marble surface. After applying the adhesive, ensure the grout lines are smooth and even.
Lighting design and installation. Light strips are usually added around a suspended TV background wall to enhance the ambiance.
The light here is only decorative and does not need to be used for illumination, so a slightly dim effect is best; too much brightness can easily cause visual fatigue.
The installation of LED strip lights requires careful planning of location and wiring during the early stages of construction to ensure the final effect highlights the three-dimensionality of the background wall without being overly flashy.
IV. Design Style and Matching Techniques A floating TV Wall Design isn’t Suitable for All Styles.
Using it in a traditional style with a classic feel would look odd. Careful attention must be paid to overall coordination during the design process.
This type of background wall uses solid colors, primarily utilizing the natural texture of the material for decoration, without excessive “design.” The texture of the large stone slab itself is the best decoration; overly complex designs will only appear cumbersome. In terms of color matching, since the floating TV background wall usually serves as the visual focal point of the space, the surrounding walls should ideally be in neutral tones to emphasize the three-dimensionality and layering of the background wall.
Lighting design is a crucial component of a floating TV background wall. Appropriate lighting not only enhances the atmosphere but also visually reduces the heaviness of the stone, enhancing the floating effect. Soft, warm white light is recommended for LED strip lights to create a warm and comfortable ambiance. V. Safety Precautions and Acceptance Standards

Surface preparation is crucial for safety. Before installation, the wall surface must be thoroughly cleaned, free of dust and dirt, and moisture-proofing measures must be taken.
Nailing a joist onto the background wall partition with steel nails, and then attaching a partition frame, significantly increases stability.
Material selection affects safety. For curb stones requiring rounded corners, especially 1-2 cm quarter-rounded corners, manual beveling is the most common method. Larger rounded corners of around 5 cm require the most skill, demanding workers to grind them meticulously while maintaining a consistent curvature.
The thickness and material of the stone directly affect installation safety; excessively thin or brittle stone is unsuitable for suspended installations.
Acceptance standards should include several aspects: Installation stability check: gently shake the background wall by hand; there should be no wobbling. Flatness check: use a spirit level; the wall should remain vertical, and the suspended portion should remain level. Gaps check: gaps between panels should be uniform, and caulking should be smooth and even. Lighting effect check: the light strips should emit light evenly, without dark or overly bright areas.
Safety usage recommendations: avoid using corrosive cleaning agents for daily cleaning; regularly check for signs of loosening of fasteners; avoid hanging heavy objects on the background wall; if any problems are found, contact a professional for repair immediately.
Although the installation of a suspended TV background wall is complex, as long as a suitable installation method is chosen and construction is strictly carried out according to specifications, both safety and aesthetics can be ensured. Thorough communication with the designer or construction team before construction to determine the most suitable installation plan will allow this novel design to add a unique modern and artistic feel to the home space.