


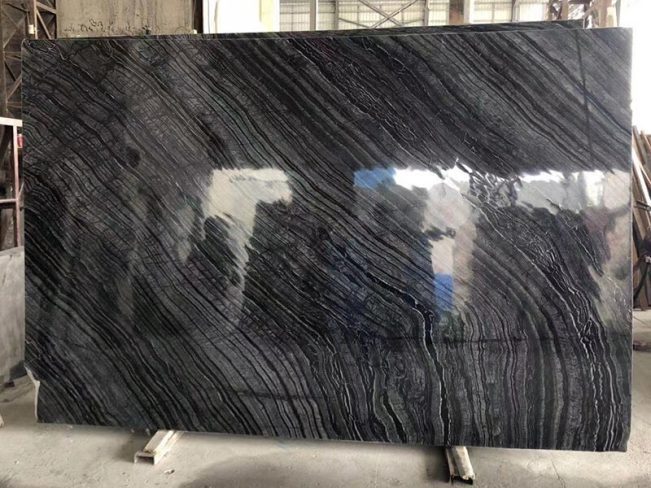
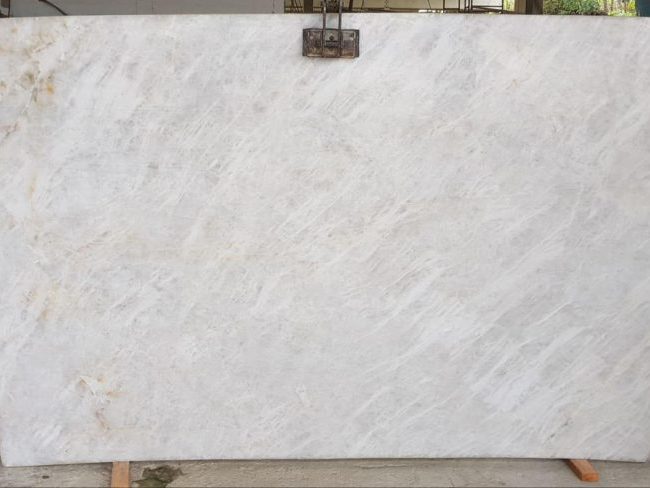

홈 인테리어에서 미세한 요소에 불과하지만, 문턱석은 인테리어의 전반적인 품질과 생활의 편안함에 강력한 영향을 미칩니다. 공간의 전환 기능과 방수, 재료 마감 역할 외에도 문턱석은 심미적 매력을 더해줍니다. 그럼에도 불구하고 많은 소유자들이 인테리어 과정에서 이 부분을 간과해 향후 사용 시 여러 문제가 발생합니다. 오늘은 주방과 욕실 문턱석의 시공 포인트를 꼼꼼히 살펴보며 후회 없는 인테리어를 준비해봅시다.


문턱석은 주방과 욕실에 설치해야 하며, 특히 주방과 욕실은 자주 사용되고 물이 스며들기 쉬운 공간입니다. 문턱석은 방수와 수막 기능 외에도 시각적으로 공간을 자연스럽게 연결해주는 역할을 합니다. 예를 들어 욕실 바닥은 주변보다 낮게 설계되며 출입구 아래에는 방수 빔이 설치됩니다. 이때 문턱석의 방수 기능은 매우 중요하므로, 방수층이 제대로 설치되어 근처 공간으로 물이 스며드는 것을 막아야 합니다. 또한 주방에서도 방수와 수막 기능이 필수적입니다. 바닥 타일과 어울리는 문턱석을 선택하면 공간이 더욱 자연스러운 분위기를 연출할 수 있습니다. 시각적 단조로움을 피하려면 바닥 타일이 밝은 회색이라면 문턱석도 같은 색조로 선택하는 것이 좋습니다. 이러한 세밀한 처리는 공간의 전체적인 느낌을 개선할 뿐 아니라 바닥재가 습기에 노출되는 것도 효과적으로 막아줍니다.

문턱석 선택 시 그 목적뿐 아니라 전반적인 인테리어 트렌드와도 잘 어울리는지 고려해야 합니다. 보통 유럽풍 인테리어에서는 레트로하고 선형적인 장식으로 바닥을 꾸미는 경우가 많습니다. 이때 문턱석에 패턴을 넣으면 디자인을 돋보이게 하고 전반적인 미적 취향을 반영할 수 있습니다. 크림이나 미니멀리즘 같은 현대적 스타일에서는 갑작스러운 문턱석을 줄여 공간을 더욱 개방적이고 깔끔하게 연출할 수 있습니다. 대형 아파트나 빌라 등 큰 평수의 공간에서는 바닥재를 그대로 활용해 추가적인 문턱석 장식 없이 자연스럽게 전환할 수 있습니다. 다만 거실과 다이닝룸의 바닥 타일과 침실의 나무 바닥이 서로 다른 재료로 구성된 경우에는 접합부에 비드를 사용해 마감과 전환을 할 수 있습니다. 이 방법은 거의 방수 및 수막 기능이 없지만, 우아할 뿐 아니라 확장 조인트를 숨겨 공간의 통일성을 높여줍니다.
문턱석 시공은 바닥재의 변화에 따라 달라집니다. 만약 바닥재를 직접 전환하는 경우—예를 들어 거실, 침실, 파우더룸 등—바닥재 자체를 그대로 활용해 문턱석 없이 전환할 수 있습니다. 다만 두 가지 재료를 접합하는 경우—예를 들어 침실은 오크 마루를 사용하고 거실과 다이닝룸은 타일을 사용하는 경우—접합부에 비드를 적용해 마감과 전환을 하는 것이 좋습니다. 문턱석과 비드 스트립 외에도 더 뛰어난 건축적 감각을 가진 추가적인 전환 기법을 적용할 수도 있습니다. 공간에 더 큰 주목을 받도록 하기 위해 두 가지 재료를 두 장소 사이에 이음새로 연결하는 방법도 있습니다. 이는 미관뿐만 아니라 기능적으로도 방수 및 수막 기능을 갖추고 있습니다.
보통 주방이나 욕실 문에 사용되는 문턱석—일명 도어스톤이라고도 함—은 습기와 습도를 방지하고 높낮이 차이를 보완하며 장식적인 역할을 합니다. 다양한 용도에 따라 문턱석은 방수용 피어와 일반 문턱석으로 구분됩니다. 보통 욕실 문 아래에 설치되는 방수용 피어—일명 방수 싱크대 또는 방수 블록이라고도 함—은 높이가 약 1~2cm 정도로 욕실 바닥 타일 아래의 물이 밖으로 스며드는 것을 막아줍니다. 욕실 습식 구역의 문턱석 시공의 주요 아이디어는 다음과 같습니다: 방수 싱크대는 바닥 층 처리 후 문턱석의 기본 층에 설치해야 합니다. 구조판을 거친 후 정밀한 석재 콘크리트를 부어 성형해야 합니다. 방수층은 방수 싱크대의 외부까지 올라가야 합니다. 타일을 깔 때는 빈틈없이 단단히 결속해야 합니다. 밝은 색상의 석재는 밝은 색상의 석재 접착제나 32.5MPa 화이트 시멘트를 사용해야 합니다. 욕실 문턱석은 욕실 바닥 완성 면보다 20mm 높게 설치하고, 문틀 선에서 앞쪽으로는 10mm, 옆쪽으로는 20mm 더 돌출시켜 문틀 선이 정확히 문턱석 위에 오도록 해야 합니다. 문턱석의 낙하 부분은 5×5mm 각도로 모서리를 둥글게 다듬어야 합니다. 욕실처럼 방수 처리가 필요한 곳에서는 문틀 아래에 석재 기둥을 설치해 문틀 하단이 손상되지 않도록 보호할 수 있습니다. 내부 문턱석 시공의 주요 특징은 다음과 같습니다: 설치 전, 석재에 금이 가거나 모서리와 가장자리가 떨어져 있는지 확인하고, 표면이 평탄하고 깨끗하며 색상이 일정한지 확인해야 합니다. 타일을 깔 때는 빈틈없이 단단히 결속해야 합니다. 밝은 색상의 석재는 밝은 색상의 석재 접착제나 32.5MPa 화이트 시멘트를 사용해야 합니다. 거실과 다이닝룸의 대리석이나 벽돌은 문턱석과 정확히 맞춰야 하지만, 침실의 나무 바닥과의 접합부에는 5mm 폭의 스테인리스 스틸 에지 스트립을 설치해 평탄하고 견고한 표면을 유지해야 합니다. 유지관리 기간은 최소 7일 이상이어야 하며, 석재를 전체적으로 깔고 나서 24시간 후에 물을 뿌려 관리해야 합니다. 샤워실 방수 싱크대 시공의 주요 아이디어는 다음과 같습니다: 샤워실 설계 도면의 크기 기준에 따라 방수 싱크대 위치를 설정하는 것입니다. 방수 싱크대가 설치될 지역은 미리 지반을 다듬은 후 정밀한 석재 콘크리트를 깔아야 합니다. 설계 기준에 따라 샤워실 방수 싱크대 높이는 숨겨진 방수 싱크대 또는 노출된 방수 싱크대 중 하나로 결정됩니다. 지반석은 젖은 상태로 붙여야 하며, 노출된 방수 싱크대는 지반 완성 면보다 20~30mm 높게 설치하고, 방수 싱크대는 지반석 위에 걸쳐야 합니다. 숨겨진 방수 싱크대는 지반 완성 면보다 30mm 낮게 설치합니다. 방수 싱크대 시공이 끝난 후 욕실 바닥은 방수 처리를 해야 합니다.
Regarding the optimization of the node between the threshold stone and the door frame, it was not taken into account that the bathroom floor was 20mm below the little aisle, so producing the less elegant end of the door frame line hanging in the air. The suggested approach is to widen the stone threshold stone with both sides 15mm higher than the wood veneer door frame line, so that the door frame sits on the threshold stone, so essentially preventing the door frame line from getting moist, and it is lovely. Regarding threshold stone node optimization, the water separating the structural layer from the bathroom floor tiles could leak into the room from the threshold stone. Under the stone threshold, the best node is to install a 30mm high concrete guide beam and roll waterproofing to stop bathroom water from seeping into the little hallway. Regarding shower room water stop node optimization, water between the structural layer and floor tiles in the shower room could seep from the water stop sill to the semi-dry area. It is advised to change the tile finish in the shower room to stone to improve comfort, while avoiding the joints from being soaked in water for a long period and turning black, so affecting the decorative effect. The optimal nodes consist in adding a 50mm high concrete beam under the stone water stop sill and applying waterproof paint to prevent water in the shower room from leaking out from the tile bonding layer.
Regarding the building process and safety measures, the stone’s surface height and position should be measured and checked; control lines should be drawn; defects including broken lines, missing edges and corners should be checked; surface should be kept flat, consistent in color; It is quite forbidden to build on the cushion layer and leveling layer; the water stop has to be built straight on the structural layer. Five to ten mm should separate the top of the waterstop from the surface of the finishing layer. Applying the slurry to the foundation surface with a roller or brush will help to organically heal for twelve hours. Proceed with the next process once the slurry is totally dry. Make sure the ground slope makes sense to avoid water collecting. Covering the waterstop, the waterproof layer should stretch outward with a width of not less than 200mm on both sides and a length not less than 500mm. To improve the waterproof effect, add hard waterproof material and cement interface agent; mix them uniformly. To moisten the bonding foundation, sprinkle water on it; next, use a notched trowel to distribute the glue so as to guarantee strong bonding. To secure the threshold stone, press it into the installation position and softly tap it with a wooden hammer. Throughout pasting, make sure everything is level and vertical at all times. Seal the opening between the threshold stone and the entrance using silicone sealant to guarantee that the glue seam is straight, smooth, consistent, elegant.
Though the threshold stone is little, it is really crucial in the bathroom and kitchen areas. It enhances cosmetic appeal in addition to being waterproofing and water blocking. By means of deliberate design and construction, the threshold stone can become a focal point enhancing the quality of the house. It should be chosen depending on actual demands and style whether it is to utilize a pressure edge strip for transition, choose a threshold stone that fits the ground’s substance, or use other transition techniques with a stronger sense of design. Every aspect, from the base treatment to the waterproof layer construction, from the stone paving to the closing treatment, has to be closely regulated during the building process. Only in this way can we guarantee that the threshold stone gets the best effect in both function and aesthetics, therefore providing long-term comfort and quality to home life.