


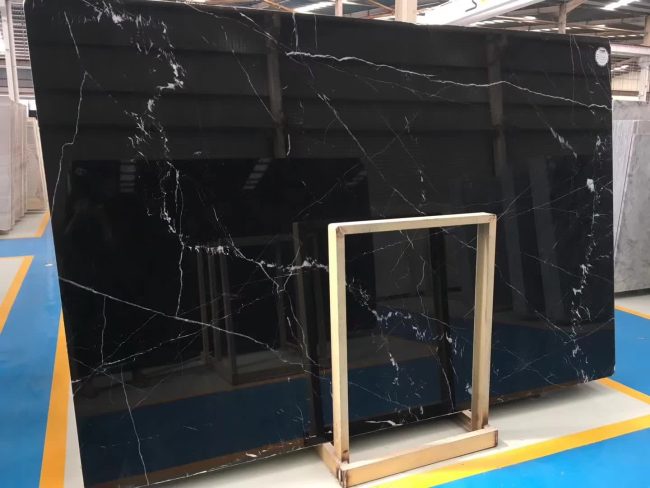
Achieving a flawless, seamless aesthetic with inorganic terrazzo requires shifting away from traditional thick-bed wet bonding. By implementing the inorganic terrazzo hard-bed thin-set construction method, projects can effectively mitigate risks of warping, hollowing, and cracking. The technical success of this system relies on three pillars: precise substrate moisture control, stone dimension-specific flexible adhesives, and synchronized stress-relieving expansion joints.
In contemporary luxury architecture, inorganic terrazzo (artificial stone) has seen a massive resurgence due to its environmental sustainability and design versatility. However, executing a truly premium, continuous floor finish presents significant engineering challenges. Inorganic terrazzo exhibits high water absorption and a notable moisture expansion coefficient, making traditional installation prone to edge warping and debonding. To resolve these vulnerabilities, Century Star prescribes the engineered hard-base thin-bed installation method as the definitive standard for high-performance commercial and residential interiors.
1. The Core Scientific Principles of Seamless Terrazzo
To eliminate surface defects and achieve structural longevity, the installation matrix must simultaneously address three critical factors: waterproofing, chemical bonding strength, and stress reduction. Traditional thick mortar beds introduce excessive moisture into the stone matrix, triggering drying shrinkage and subsequent corner curling. By utilizing a pre-cured, dry leveling layer, the thin-set approach significantly limits water vapor migration from the substrate floor.
Furthermore, structural movement and thermal fluctuations introduce intense internal stress. When wet-bonding artificial stone over high-temperature environments like underfloor-heating floors, rigid bonding and grouting materials fail rapidly. Incorporating specialized flexible polymers allows the system to absorb shear stresses without sacrificing surface adhesion.
2. Material Selection Guide: Adhesives & Joint Matrix
A primary failure point in terrazzo contracting is the mismatch between slab dimensions and adhesive elasticity. As slab sizes scale upward, the required flexibility of the bonding material increases exponentially. The table below outlines the mandatory specification standards established by Century Star:


| Stone Dimensions | Substrate Type | Recommended Bonding Material | Minimum Joint Width |
|---|---|---|---|
| ≤ 900 mm x 900 mm | Ordinary Concrete | AD-1035 (Standard) / AD-1036 (Early-Strength) | ≥ 1.0 mm |
| > 900 mm to ≤ 1500 mm | Ordinary Concrete | AD-1030 Two-Component Flexible Adhesive | ≥ 1.5 mm |
| > 1500 mm | Ordinary Concrete | AD-1025R Two-Component Flexible Adhesive | ≥ 2.0 mm |
| ≤ 900 mm x 900 mm | Underfloor Heating | AD-1030 Two-Component Flexible Adhesive | ≥ 1.5 mm (for > 600 mm) |
Mandatory Engineering Proviso for Radiant Heat Substrates:
Due to extreme thermal cycling and high localized stress, terrazzo slab dimensions installed over underfloor heating must be strictly controlled below 900 mm x 900 mm. Rigid cementitious grouts and standard thin-sets are strictly prohibited; a fully flexible elastomer bonding chain is mandatory to prevent widespread shearing failure.

3. Step-by-Step Execution Protocols
Phase 1: Substrate Preparation & Conditioning
The concrete slab or leveling mortar layer must exhibit high compressive strength, free of laitance, powdering, or sanding defects. All oils, efflorescence, and loose debris must be mechanically abraded. Crucially, the substrate must be pre-leveled using a high-strength mortar layer with a minimum thickness of 3 cm. Prior to stone application, the leveling layer must be completely dry, showing a verified moisture content under 5%.
Phase 2: Five-Face Hydrophobic Protection Treatment
Before bonding, clean all dust and cutting residues from the stone surfaces. Slabs must be entirely dry. Apply AD-9008 fluorosilicone full-effect stone protector to five faces of the slab (the front and four perimeter side edges)—leaving the back bonding surface completely untreated to prevent severe hollowing and debonding. Apply crosswise (one horizontal, one vertical coat) on the face, followed by two dense coats on the edges. Wiping away excess surface dust once dry.


Phase 3: Dual-Sided Adhesive Scraping & Layering
Using a mixed slurry consistent with manufacturer ratios (typically blended via electric mixer to avoid pocketing), apply the adhesive using the dual-layer combing technique. Comb the slurry onto both the back of the terrazzo slab and the prepared floor-leveling mortar using a 1 cm x 1 cm notched trowel held at a 45°–60° angle. The working area per scratch cycle must not exceed 1 m².
Press the slab onto the bed, ensuring the combed ridges on the stone back and the floor substrate cross in perpendicular directions. Use a leveling vibrator or a rubber mallet striking a sacrificial wood block to achieve 100% full bedding compaction. The consolidated thin-bed adhesive layer thickness must be strictly maintained between 5 mm and 10 mm, requiring approximately 8 kg of slurry per square meter.
Phase 4: Stress-Relieving Grouting & Expansion Joints
To avoid immediate stress lock-up, joint grouting should be delayed for at least 14 days post-bonding to allow initial structural settling. Clean the joints thoroughly to a depth of no less than 3 mm. Mix and press AD-1026 two-component flexible grout flush into the gaps. For expansive, continuous floor applications, field perimeter and intermediate expansion joints (5-10 mm width) must be integrated transversely and longitudinally, perfectly synchronized with the substrate structural joints and filled with silicone sealant or flexible rubber profiles.


4. Post-Construction Curing & Grinding Diagnostics
Following successful placement, the terrazzo surface must remain completely open and unsealed for a minimum of one week to allow latent moisture to evaporate smoothly. Wetting, heavy foot traffic, or mechanical impacts are strictly prohibited during this initial 7-day cure window. Once the flexible grout has naturally cured for 2-3 days, professional grinding, planetary polishing, and crystallization lines may proceed to achieve the uninterrupted, monolithic specular finish demanded by luxury designs.
Final Note / Practical Takeaway
Critical Site Quality Checklist:
1. Never coat the back bonding surface of the terrazzo with stone protectors. 2. Verify that ambient construction temperatures remain stable between 5°C and 35°C. 3. Manage adhesive pot life rigorously: use mixed fast-setting formulas within 1 hour and flexible compounds within 2 hours. 4. Always maintain clear structural expansion joints around walls and vertical pillars to absorb structural shifting.
Are you engineering a commercial or large-scale interior development requiring custom inorganic terrazzo supply? Connect with the Century Star technical engineering department for complete material sourcing and layout consultation.
Frequently Asked Questions
Q1: Why can’t I use traditional cement mortar beds for seamless terrazzo?
A: Traditional thick-bed mortar introduces heavy volumes of free water. Because inorganic terrazzo is highly sensitive to moisture, it absorbs this water unevenly, causing excessive shrinkage, edge curling, and rapid cohesive failure within the mortar bed itself.
Q2: What happens if I accidentally protect all six faces of the terrazzo slab?
A: Applying a silicone or fluorosilicone protector to the backside destroys the chemical keying capability of the adhesive. It creates a hydrostatic barrier that leads directly to hollowing, delamination, and complete stone detachment under foot traffic.
Q3: How long must I wait after installation before grinding and polishing the floor?
A: Grouting must wait at least 14 days post-installation to let structural stress equalize. After the flexible grout is applied and cured for 2-3 days, mechanical grinding, honing, and crystallization protocols can safely commence.