


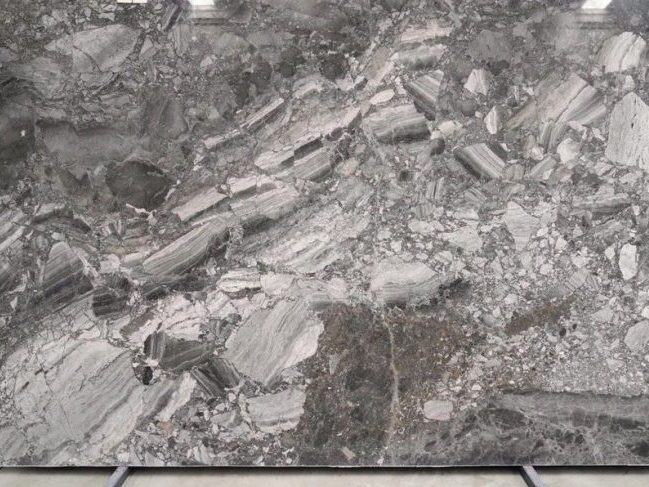
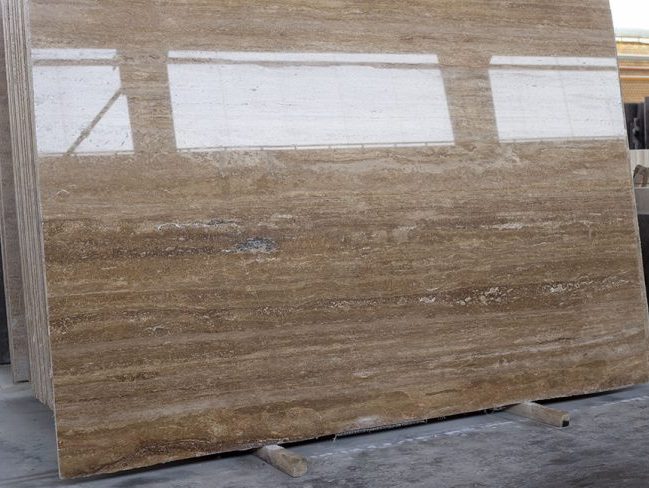

Mimari dekorasyonda, taş zemin inşaatı oldukça güzel ve uzun ömürlü olduğundan gerçekten popülerdir. Lüks evlerden üst düzey otellere, iş merkezlerinden kamu binalarına kadar, taş zeminler iç mekanlara benzersiz bir dokuya ve sanatsal ruha sahip olmalarını sağlayabilir. Yine de nitelikli bir taş zemin inşaatı kolay bir iş değildir. Buna dahil olan pek çok bağlantı noktası vardır; her biri belirli proses gereksinimleri ve sorunlar barındırır. Bu makale, 10 yaygın taş zemin tasarım tekniği ve temel kavramları ayrıntılı olarak ele alacak; böylece inşaat profesyonelleri bina şartnamelerini doğru şekilde kavrayıp inşaat kalitesini garanti edebilecek, güçlü, güzel ve geniş taş zeminler oluşturabileceklerdir.


Sıkça karşılaşılan ve önemli mimari dekorasyon projesi, iç mekan sıradan zemin taş inşaatıdır. Zeminin inşaat kalitesi doğrudan onun çekiciliği, ömrü ve kullanışlılığıyla ilgilidir. İnşaat süreci; hazırlık, çizgi işaretlemesi ve numaralandırma, deneme montajı ve taban işlemi, bağlama katmanının döşenmesi, taş zeminin döşenmesi, derz açma ve yapıştırıcı doldurulması ile kristal yüzey işleminden oluşur. Hazırlık aşamasında bağlama gücünü artırmak için altı yüzlü koruma işlemi yapılmalıdır; mermerin arkasındaki örgü kumaş çıkarılmalı; taşın arka yüzü pürüzlendirilmelidir. Taşların konumu, işaretlemeye ve numaralandırmaya tüm süreç boyunca tasarım çizimlerine tamamen uygun olmalıdır; dolayısıyla numaralar doğru yerleştirildiğinden emin olunmalıdır. Taban, normal çimento harcıyla temizlenip fırçalanmalı; taban işlemi sırasında eklem etkisini kontrol etmek için deneme montajı yapılmalıdır. Bağlama katmanının döşenmesi için belirlenmiş oranlarda çimento harcı ve özel taş zemin yapıştırıcısı kullanılmalıdır. Taşları sayısına göre düzenleyin; ayrıca düzgünlük ve eklem boşluğunu da göz önünde bulundurun.

Derz açma ve yapıştırıcı doldurma aşamalarını güzelleştirmek için taş zemin için özel yapıştırıcı kullanılır; bu sayede renk tonu değiştirilir ve yapıştırıcı doldurulur. Son olarak, taşın aşınma direncini ve parlaklığını artırmak için kristal yüzey işlemi yapılır. Temel kavramlar su yalıtımı işlemi ve yapıştırıcı seçimidir. Döşemeden önce mutfak ve banyo taşları su depolama testinden geçmelidir; esnek su yalıtım kaplamaları uygulanmalı ve kalınlık şartnamelerini karşılamalı ki su yalıtım katmanının sızdırmazlığı garanti edilsin. Su yalıtım kaplaması kurumadan önce su depolama testleri kesinlikle yasaktır. Sorunlar ortaya çıkarsa tekrar giderilmelidir. Banyo ve mutfağın ıslak ve kuru alanlarındaki duvar su yalıtım kaplamasının yüksekliği aynı anda net gereklilikler taşır. Yapıştırıcı seçimi açısından, açık renkli taşlar için beyaz taş zemin için özel yapıştırıcı kullanılmalı; taş zemin yüzey katmanı döşenmeden önce yapıştırıcı tabakası kazınmalı ve kuruduktan sonra döşenerek bağlama gücünü artırmalıdır.

Zemin rögarları iç mekan tasarımı için vazgeçilmezdir; çünkü inşaat kaliteleri doğrudan iç mekanın kuru kalmasını ve sorunsuz olmasını etkiler. İnşaat prosedürü; zemin eğimi, zemin rögarı montajı, drenaj borusu montajı ve zemin rögarı konumlandırmasını kapsar. Bulunurken, zemin rögarı kanalizasyon borusuna yakın yerleştirilmeli; zemin planı ve alan düzenlemesi önceden hazırlanmalıdır. Drenaj borusu yerleştirildikten sonra su tuzakları kurulmalı ve kalibre drenaj akış gereksinimlerini karşılamalıdır. İyi drenaj sağlamak için zemin eğimi oranı 0,3% ile 0,5% arasında olmalıdır. Çevredeki harcın sıkı doldurulması, zemin rögarı inşaatında güçlü bir bağlantı sağlamaya yardımcı olacaktır. Temel bileşenler; drenaj borularının bağlantısı, teras tedavisi ve tek alanlardır. 15 metrekareden fazla alanı kapsayan alanlarda birkaç zemin rögarı dizilmesi drenajı maksimize etmeye yardımcı olur. Eğer binada yükseklik farkı yoksa, yağmur suyunun birikmesini önlemek için terasta bir hendek kazmak tavsiye edilir. Zemin rögarı modeli, drenaj borusu çıkışının yüksekliğini belirleyerek su sızıntısını durdurup sıkı bir bağlantı garantisi verir.


Su yalıtımı dışında, duş alanında taş zemin yapısı estetik etkiyi de göz önünde bulundurmalıdır. İnşaat prosedürü; hazırlık, çizgi işaretlemesi ve flanş çelik çubuklarının ön dikimi, flanş kalıplama ve dökümü, su yalıtımı, bağlama katmanının döşenmesi, taş zeminin döşenmesi, derz doldurulması ve kristal yüzey işleminden oluşur. Hazırlık sırasında, taban temizlenmeli ve düzgün olduğundan emin olunmalıdır. Tasarım çizimlerinin önerilerine uygun hareket edilmesi, flanş çelik çubuklarının ön dikim aşamasının doğru yapılmasını garanti edecektir. Flanş kalıplama ve dökümü sırasında, pürüzlendirme işlemine uygun olarak ince taş betonu dökülmelidir. Su yalıtımı yöntemi, zeminin ve flanşın bütünleşik su yalıtımına bağlıdır. Çimento harcıyla kaplanmış bağlama katmanını fırçaladıktan sonra çimento harcı döşenir. Taşların döşenmesinde, taş döşeme için özel yapıştırıcı kullanılmalıdır. Kristal yüzey, derz doldurma adımıyla işlenir ve eklem boşlukları derzlenir. Önemli bileşenler; su tutma şeridi inşaatı, hendek genişliği ve ıslak kaldırım yöntemi dir. Tasarım kriterlerine uygun su tutma şeridi inşaatında, ters eğim tedavisi ve stopperli ön dikilmiş çelik çubuklar takip edilmelidir. Zemin rögarı kuralları, mükemmel drenajın garanti edilebilmesi için hendek genişliğini seçmenizi sağlar. Duş odası taşlarının döşenmesi, taş zeminin ve tabanın güçlü bağlanmasını sağlamak için ıslak kaldırım teknolojisini kullanmayı gerektirir.

Mutfak ve banyo kapı kapakları su yalıtımına dayalı inşa edilir; dolayısıyla dekorasyonları iç mekanın kuru kalmasını ve kapı kapaklarının kullanım ömrünü önemli ölçüde etkiler. İnşaat prosedürünün bir kısmı; taban işlemi, su yalıtımı ve üç katmanlı koruma işlemidir. Taban açısından, kapı çerçevesi temizlenmeli ve yüzey mükemmel olmalıdır. Su yalıtımı adımında, kapı çerçevesi taban plakanın kökü, eşiği taşıyan zemin yüzeyinden yaklaşık 20 mm mesafede su yalıtım yapıştırıcısıyla doldurulur. Üç katmanlı koruma işlemi sırasında kapı çerçevesi temeli ateş, korozyon ve nemle mücadele edilmelidir. Önemli unsurlar, su yalıtım yapıştırıcısı ve üç katmanlı koruma işlemidir. Kapı çerçevesi taban plakanın temeli su yalıtım yapıştırıcısıdır; güvenilir malzemeler seçilir, ambalajlanır ve tam olarak inşaat yönetmeliklerine uygun biçimde sıkıştırılır. Kapı çerçevesi temelinin ateş, korozyon ve nemle korunması, hem kapı çerçevesinin kullanım ömrünü etkin biçimde uzatır hem de nemli ortamdan kaynaklanan deformasyon, küf ve diğer sorunların önüne geçer.
Apart from the steps’ look, stair floor stone finishing solves users’ safety concern. Part of the construction are preparation, marking and checking numbers, trial assembly and foundation treatment, laying the bonding layer, laying stones, grouting and crystal surface treatment. In preparation, the surface has to be level and the base has to be cleaned. The lines should be marked and the stone floor counts should be confirmed in the marking and verifying numbering stage using the design drawings’ standards. While base treatment, trial assembly should be done to assess the splicing effect and clean the base with basic cement slurry. Apply especially adhesive for stone floor and lay the bonding layer in a designated ratio using cement mortar. Laying stones should be done numerically, so consider the flatness and splicing gaps. The grouting and crystal surface treatment process handles the splicing gaps and crystal surface treatment. Important elements are the dark stone and anti-slip strip construction. Construction of the anti-slip strips must meet design standards to ensure the anti-slip effect of the stairs. Dark stone ties with a certain ratio using a cement mortar to ensure the close bonding between the stone floor and the base.


Usually utilised in countertops and other areas, the thicker border of the stone aims to increase the countertop’s firmness and beauty. The building process consists in preparation, cutting and bonding. For cutting to ensure that the texture and colour of the thickened edge match the countertop, it is imperative to choose the stone floor of the same block as the countertop in the preparation step. Cut from the rear to the top and bond the back to the rear throughout the cutting and bonding operation to ensure that the joints are dense and without gaps. Apart from strong bonding, colour and texture define the conspicuous characteristics. To guarantee consistency of texture and colour, the thicker strips and countertop should be cut from the same block, therefore ensuring the beauty of the colour and texture of the stone. A reliable quality glue must be selected and the operation must be carried out strictly in line with the building requirements if strong bonding throughout the bonding process is to be guaranteed.
The closing of the carpet and skirting is a fundamental part of interior design; hence, the construction quality of these parts directly affects the complete image of interior design. Part of the building procedure consists in base treatment, line drawing and positioning, carpet cutting, laying pads, laying carpets and thorough processing. Before handling the base, ground needs to be cleaned and the surface needs to be level. To exactly determine the carpet laying position and skirting installation position, line drawing, square fitting, grid division and positioning should be done in the line drawing and positioning stage. The carpet should be trimmed according to design guidelines to ensure its size is exact. Make sure the pad lays flat to prevent creases or movement of the carpet. Placing the carpet should make sure the surface is level and the joints are closed. To ensure attractiveness, the junction of the carpet and the skirting is handled in the complete processing level. Main ideas are ground levelling, skirting gaps, environmental preservation, and fire avoidance. The carpet floor needs to be level using cement mortar; it cannot be installed until the carpet is completely dry. The skirting should start with a spacing of 8 to 10 mm; this will vary depending on the thickness of the carpet. The carpet pad has to meet criteria for indoor environmental protection and fire avoidance.

The choice of floor is a crucial element of interior design; consequently, the comfort degree and service lifespan of the wooden floor directly depend on its construction quality. Part of the building procedure are foundation cleaning, elevation positioning, slurry treatment, fine stone floor concrete pouring, installation of a moisture-proof membrane and a wooden floor. While building the foundation, ground must be cleaned and the surface must be level. The elevation has to be determined and positioned during the elevation placement stage to ensure the flatness of wooden floor laying. The adhesion between the ground and the base layer is enhanced by slurry treatment. While it is still being used, fine stone floor concrete is poured and levelled. Laying moisture-proof membrane is done to stop moisture from getting into the wooden floor. Solid wooden floor is laid to guarantee that there are no gaps at the joints and that the surface of the wooden floor is flat. Important aspects include ground levelling and moisture-proof preparation. The ground cannot be laid until it reaches a designated degree of dryness; once it is levelled, the flatness must satisfy the relevant national criteria. To stop moisture from getting into the hardwood floor, a plastic moisture-proof film should be placed on the building floor and the interfaces should be overlapped and taped while laying the foundation board.
An important component of interior design is the junction between the floor wood floor and the stone; hence, the construction quality of this junction directly influences the whole effect of interior design. A 3mm expansion joint should be reserved at the junction of the floor and the stone floor during construction; the weather-resistant glue of the same colour as the floor should be filled in the joint to ensure that there is no gap at the junction and the transition is natural. Using masking tape to first position glue ensures that the width and straightness of the glue junction are constant, therefore avoiding contamination of the final result.
Respected at the base of the skirting, a gap of 8 to 10mm should be changed to suit the thickness of the stone or hardwood floor thereby guaranteeing a natural and elegant transition.
An essential component of interior design, the construction of the floor rubber board directly influences the service life of the floor rubber board and the beauty of the indoor environment. Base treatment, glue treatment, placing the floor rubber board and detail treatment constitute part of the building process. The base should be cleansed and the surface should not be sanded, peeling, dusty, hollow, oily, or rough to the touch once the base treatment is finished. Applying adhesive simultaneously from the base and the rear of the plastic floor block allows the glue surface to be laid even in non-stickiness. As you place the flooring board, make sure its surface is level and there is no gap at the seam. The intersection of the flooring board and the skirting line is handled in the thorough processing stage to guarantee attractiveness. The key elements are the hygienic dead corners, splicing treatment, and minimum standards. The base ought to be free of sand, flaking, dust, hollowing, oil stains, and roughness when touched. Laying blocks should call for two materials close together without obvious seams. Generally speaking, overlapping technique should cut the junction of the two material parts; so, pay great care to preserving a single cut. Usually the overlap is three centimetres. The skirting and the ground are laid as a whole to prevent the formation of joints and sanitary dead corners, so the link between them is made into an inner fillet.
By means of the above comprehensive building technique and key points, construction workers may better comprehend and master the fundamental links of stone floor construction, guarantee construction quality, and make exquisite and long-lasting stone flooring for indoor areas.